Top 10 Essential Nade Lineups for Every CS2 Map
In the competitive landscape of CS2, mastering the art of grenade lineups can give players a crucial edge over their opponents. Knowing the top 10 essential nade lineups for every CS2 map is key to maximizing your team's effectiveness during crucial match moments. Whether you’re looking to secure a bomb site or push your enemies back, having these strategies in your arsenal will enhance your gameplay. Below, we delve into the most impactful nade lineups tailored for each popular map, ensuring you never miss an opportunity to gain the upper hand.
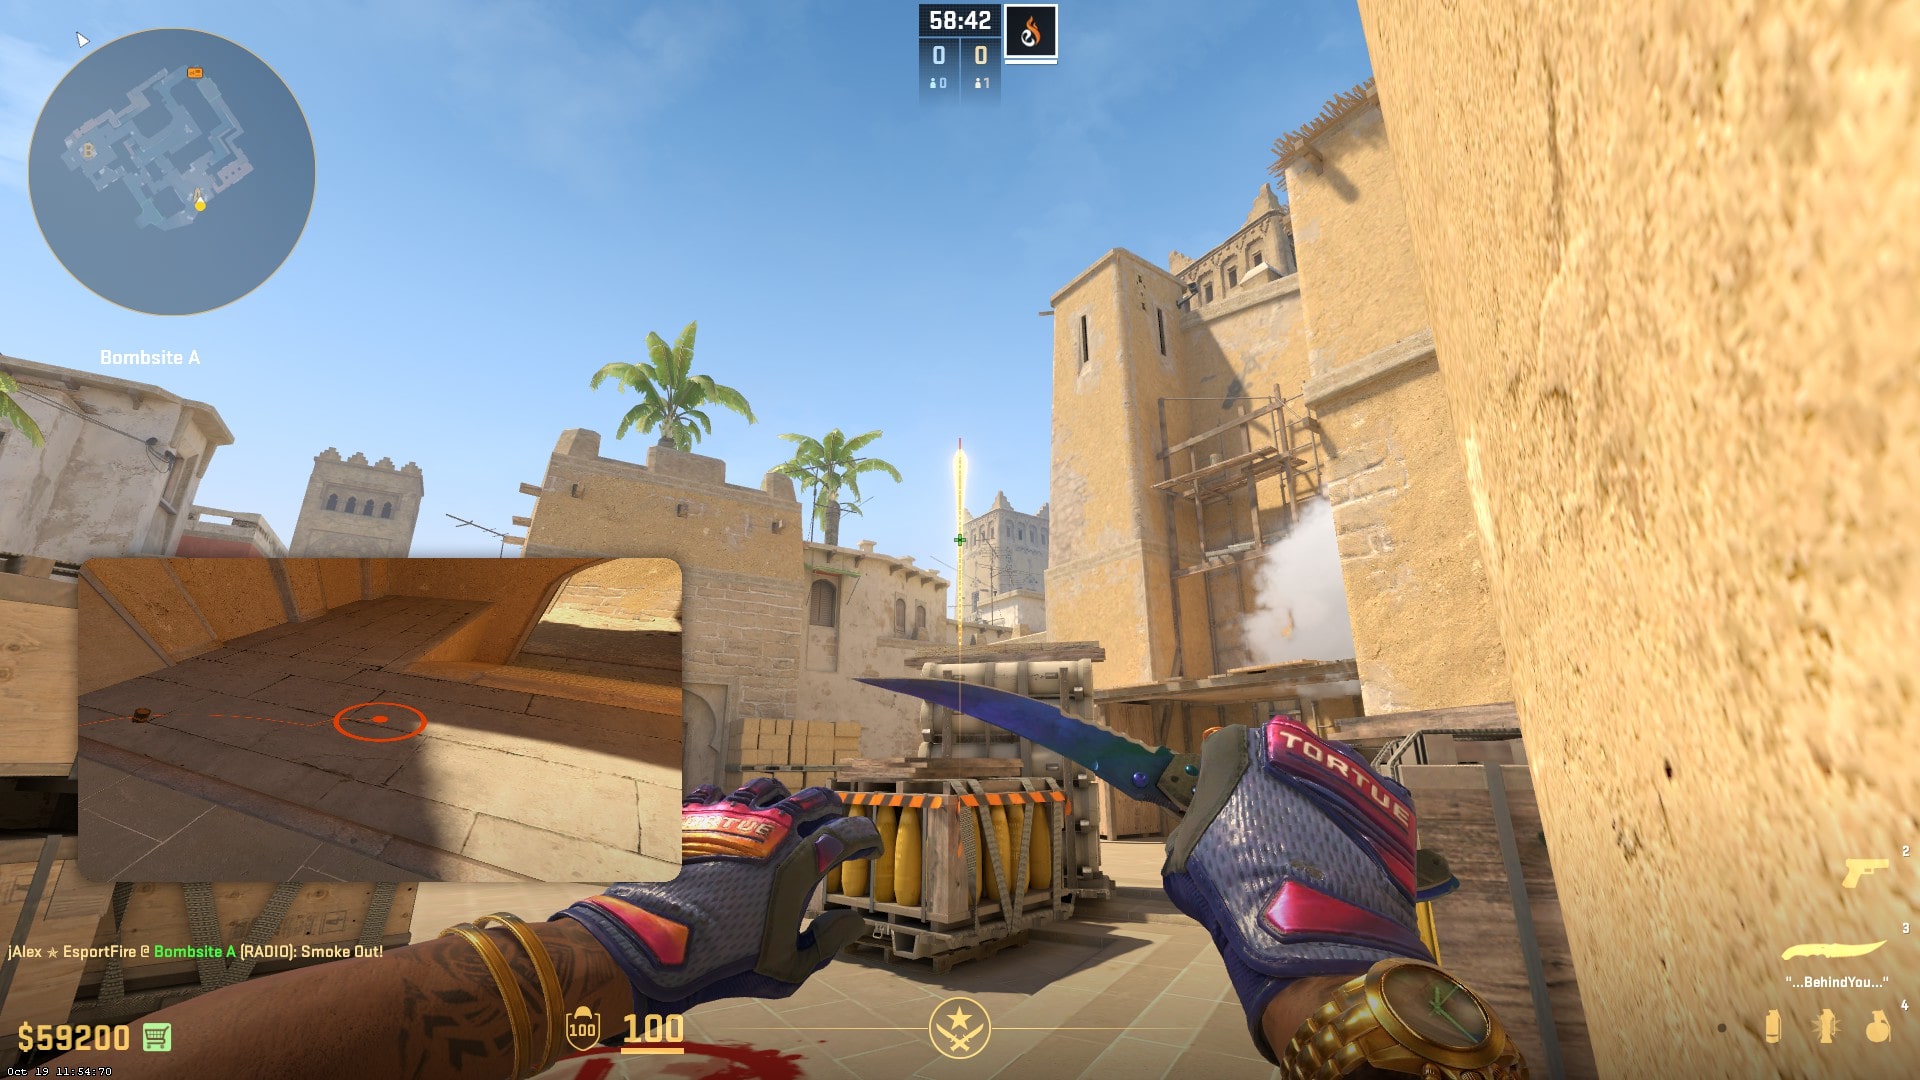
- Dust II: The classic map demands careful smoke and flash placements to counteract enemy strategies.
- Mirage: Learn the critical molotov throws for outflanking opponents hiding in common positions.
- Inferno: Utilize smoke lineups for mid control and plant site coverage.
- Nuke: Precision in using grenades can effectively clear out tight corners.
- Overpass: A well-placed smoke can block enemy vision during critical pushes.
- Train: Coordinate flashes to blind opponents on the upper platform.
- Vertigo: Master the throws to maintain control over key areas of the map.
Consider practicing these lineups in offline modes or use custom servers to perfect your throws. As you integrate these essential grenade strategies into your gameplay, you'll find that your team's synergy and effectiveness vastly improve, making you a formidable force in CS2.
Counter-Strike is a highly competitive first-person shooter game that pits teams of terrorists against counter-terrorists in various missions. One of the popular aspects of the game includes the use of weapon skins, such as those found in the Shadow Case, which players can acquire and trade to customize their gameplay experience.
How to Master Nade Lineups: Tips and Tricks for Competitive Play
Mastering nade lineups is essential for competitive play, as it can significantly impact the outcome of a match. To begin, it's important to familiarize yourself with the maps you are playing on. Each map has specific spots where grenades can be thrown effectively. Start by practicing in custom games or using offline modes to experiment with different nade lineups. Watching tutorial videos and studying professional players can also provide insights into effective techniques and angles for optimal grenade placement.
Once you have a grasp on the basics, consider utilizing an organized approach by creating nade lineup guides for yourself. You can use numbered lists to categorize different lineups for varied situations, such as defensive plays or attacking strategies. For example:
- Identify key positions on the map.
- Learn the throwing mechanics for each grenade type.
- Document successful lineups that have resulted in kills or area control.
Are You Throwing Nades Correctly? Common Mistakes and How to Fix Them
Throwing nades in gaming might seem straightforward, but many players fall into common traps that hinder their effectiveness. One of the main errors is misjudging the throwing angle, which can lead to nades landing too far or not far enough. Additionally, failing to account for game mechanics, such as distance drop-off or obstacles in the environment, can turn a potentially successful throw into a missed opportunity. To avoid these pitfalls, it’s crucial to practice your aim and familiarize yourself with the unique properties of each grenade type, including fragmentation and smoke grenades.
Another common mistake is throwing nades without proper timing or communication with your team. For instance, tossing a grenade just as your teammates are charging into a location can inadvertently harm your own side. Always ensure that everyone is on the same page by using voice chat or signaling when and where you plan to throw. To improve your grenade throws, consider these key tips:
- Practice the trajectory of each grenade type in different scenarios.
- Learn to use grenades in conjunction with your team's strategy.
- Analyze your gameplay to identify when nades could have been better utilized.